Showing posts with label diy. Show all posts

Wednesday, July 3, 2013

Experiments with Chalk Paint

We just moved  into a new house.  Brand spanking new. I LOVE it!  The first world problem I have now is furnishing this massive place.  It is literally twice as big as the place we were living in during the past year.  I have been looking at blogs and pinterest and watching a lot of diy tv lately and love all the repurposing of older furniture that is popular now .  In particular, I wanted to try chalk paint.  Annie Sloan is the brand name, but there are not that many places that sell the paint, and I found a homemade recipe (yes I know some of you are cringing) that fellow bloggers SWEAR by.

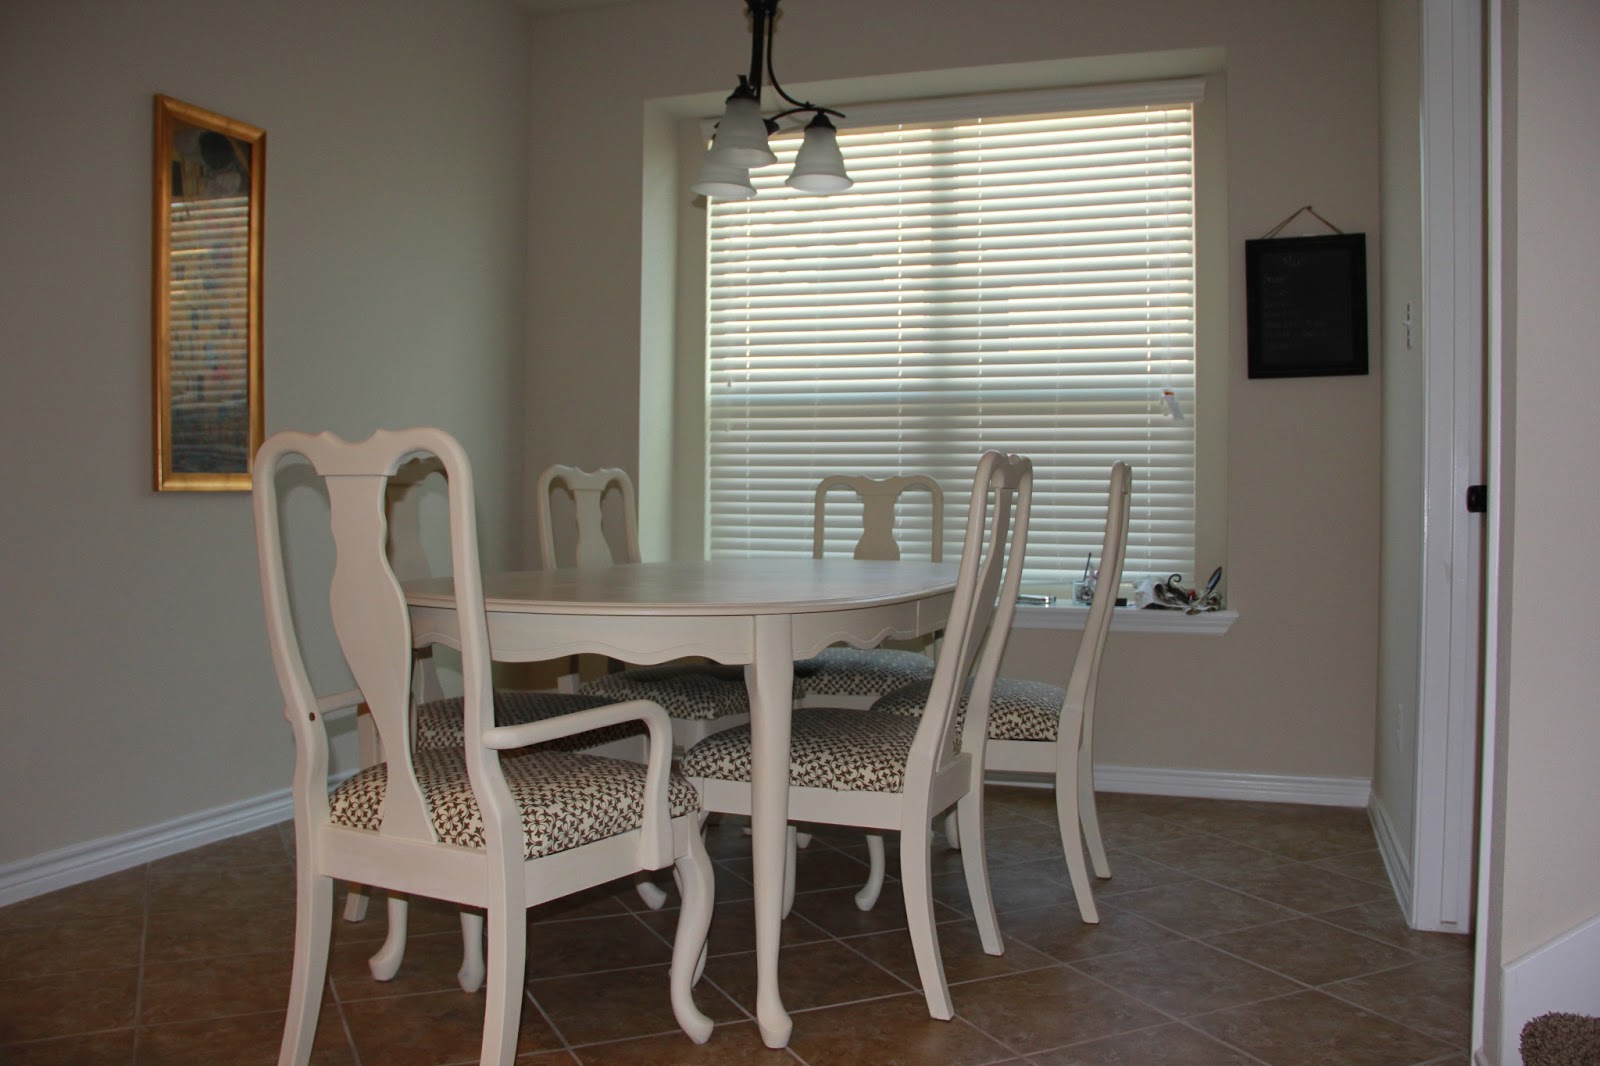
I was given this table by our neighbors.  It was damaged in a military move, and we needed a table when we first moved to Fort Hood.  They just gave it to us.  They didn't need it anymore, and their style is no longer formal, but the Texas Rustic look.  My style is not really formal either, but I loved the lines and shape of this table.  Here are some photos of the set before.


I took the cushions off the chairs and covered them with a new material (a donation from another neighbor, yep Army neighbors are the best).  
The chalk paint recipe is basically 2 Tablespoons of sandless grout to a cup of paint, and then you water it down to be the consistency you want.  I found that I like it very thin.  And I did around 4 or 5 coats of the thin paint to slowly build up the paint to be the look I wanted.  You can layer different colors to have a rustic or vintage look, but I like the flat look for these chairs.  I then used the wood wax and gave it two coats.  So far, I have one chair completed with two more close to being done.  I wanted to try out a couple of chairs first to see how the paint holds up.  Bloggers claim that you do not need to sand or prime with this method, so I want to make sure this is true before I do the whole table.  If its true, it would be fantastic.  I think they look pretty good.


Before and After :


So a few hours of work, and several coats of paint.... I enjoy painting furniture so to me, its relaxing.  I am already on the lookout on Craiglist for another dining set and some dressers, and some barstools.  This could be fun, because with chalk painting there are so many options and "looks" you can go for.  


So.... it is done!  Today.  July 12, 2013
I am a new girl.  Changed from this experience.  I am now  addicted to chalk paint.  I love furniture wax.  I may try it as a finish on other painted furniture too.  It is even easy to wipe clean.  Tonight we had grilled salmon and as my 15 and 13 year old boys gooed up the table and dripped and dropped various textures of food and fluids all over my newly painted table, I cringed. How will this waxed finish hold up to a real cleaning?  Well, it was beautiful.  Very easy to wipe up.  

And here is the finished product...


Monday, January 7, 2013

The Turquoise Room

We are slightly enamored with all of the diy shows and home improvement programs on cable.   There is a bit of irony in this.  This is the first time we have had cable in years, and it is the first time in years we are not living in a house we own.  There is not a lot of renovation that you can do in military housing.  You can paint whatever funky colors you like, but that's about it.  That is unless you think outside the box.

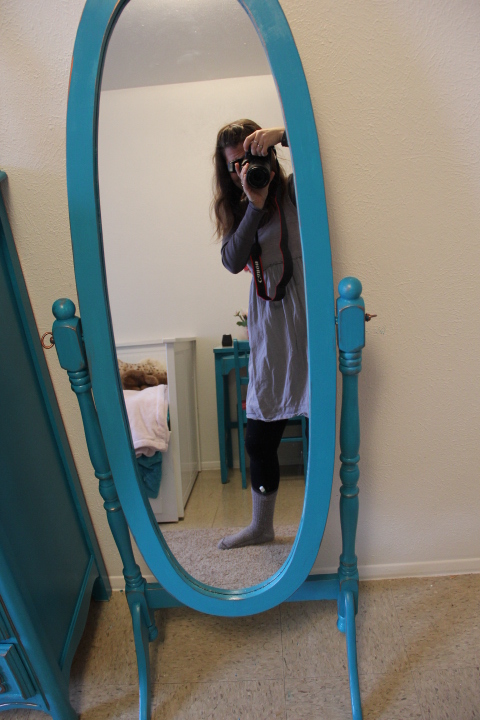
I like the Property Brothers especially, because they will take the homeowners to resale shops and antique stores and totally redo the furniture to fit the mood they like.  These pieces of  "upcycled"  furniture do as much as the renovations to change the houses and rooms.  So, I decided to work on my daughter's room and see what I could do.  She has an armoire and desk from the 70's, which I had painted a pale pink a few years ago.  She was ready for some hot pink and bright teal.  I should add that what really motivated me was   a mirror my friend gave me.  It was so pretty, but needed a fresh coat of paint.  I added some finished pictures of  the mirror, as well.

I forgot to take a picture of the desk before, but to the left is the armoire before after.  Teal latex paint with acrylic copper metallic for the accents.


 The detail in the wood and the original hardware are so pretty.  You can't buy this kind of character in new furniture.


The desk was so much fun to paint.  We used the teal paint, and then I took some of my acrylic copper metallic paint and painted the hardware and brushed the edges to give an aged look.  For the seat, Rose picked out a fun hot pink fabric and I stapled it over the old dingy seat.  


I am working on creating some fun "accents" for her room.  I took an old frame and painted it to match, then used some foam board and leftover fabric to create a small bulletin board.  And the mirror that started it all.
 Her bed needs some hot pink pillows and a few more accents around the room and we'll be done.  

Wednesday, May 2, 2012

Altered Book - nooks and crannies

One of my favorite students is working on an altered book project.  She is going through a confirmation class at her church and is creating a book as her final project to express what her faith means to her.  This is the essence of what art should be.
 
She has tons of photos which show her "acting" out her faith through various service and missions trips, and tons of other tidbits, papers, quotes and the like,  which will add to the whole meaning of her book.  Yesterday we cut out a huge hole in the back portion of the book.


Nooks, crannies and holes are a great addition to any altered book.  They can be used to make a secret hiding place for a treasure.  Or they can be used as a shadow box area so that you can use 3D items to your page without added bulk.


The secret is to score (or use a pencil line) the shape you want to cut out.  Then use an exacto knife or box cutter to carefully cut through the pages.  It may be easier to just cut through a few at a time until the desired depth is achieved.  We made a square, but depending on how nifty you get with your knife, any shape would do.


Then you must glue the pages together.  I think Elmers white glue works best.  This is the most tedious part of the project.  It takes some time, and then you must weight the whole thing down to prevent bumpiness.


You can add a border or paint around the shape.  Remember, there are no rules with altered books, so the possibilities are endless.  This is a great way to make a hiding place for a flask, or money, as well, but then you probably wouldn't want to display it on your coffee table.

This particular nook will hold a rosary.  


Here is her completed page: