When I was a teenager, there were a few careers which I thought would be perfect for me. I laugh at myself back then now. But then again, I would still love to do any of them.
The first one was a writer/novelist/columnist. I have always loved writing. I am not saying I am a particularly good writer, but I do enjoy it.
The second career I wanted to pursue was a fashion designer. I sewed a little and could follow a pattern. And made some cool clothes for myself. Well, thats not entirely true! I could never follow a pattern, because I would read them and think, "that's stupid, it would be easier or better if I did this or that instead". Sometimes my ideas were brilliant, but more often than not, my improvements ended up as disasters. Probably because I never learned how to make patterns or why they worked to begin with. I could have gone to fashion design school, I don't know why I didn't. I still love fashion, clothes and design. I wish I knew how to create my own complex patterns.
But the third career that could have been mine was an interior design. Patterns, colors, shapes, size, fabric, textures.... I love them all. Anyway, I have a beautiful new house which I need to make a home on a military wife budget. Since I didn't want to go into debt for furnishings and decorations, I have been making them myself or repurposing used items.
Before I delve straight into my projects, I would like to say that I am sooo thankful for this house. Sometimes, we go through tough situations, to make us better people. Better people are thankful and appreciative, and I see this house as a gift. One I don't deserve, but nonetheless a gift. And if you know me well, I don't think that God necessarily gives material gifts to those he loves. Obviously not! Just look at the world, and how the spread of wealth tends to flow. However, for whatever reason, my house is a gift from God, for a short time, and I want to do my ultimate best to make it warm and welcoming. And even make it a cool hang out for my kids and their friends, and youth group.
Here are some of the projects that I have been working on. I bought all of the furniture off of craigslist, except the wicker furniture was a garage sale find (all four pieces for $25). Instead of creating a post for each project, I figured it would be easier to put them all here. Of course I have more to come in the future, I am no where near done.
The patio furniture... easy peasy. Washed, spray painted a fresh coat of white paint and covered the cushions with new fabric. The little chairs need new cushions but I will get to that another time.
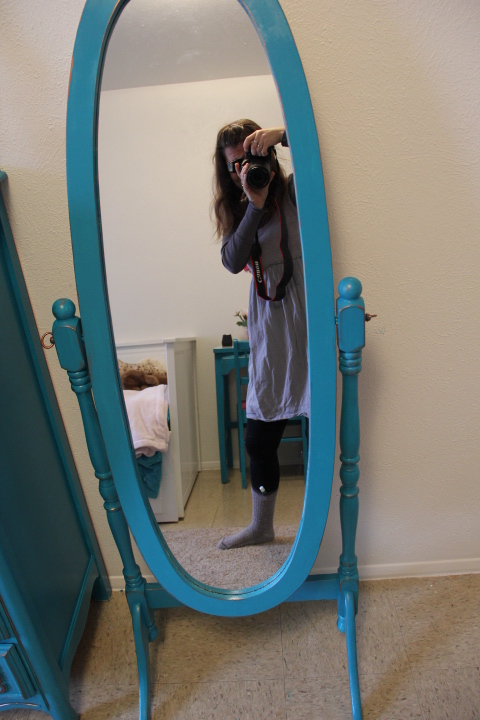
 And then I found a jewelry box on Craigslist. I chalk painted it, slightly distressed it, and lined the interior with lilac fabric. I finally have a place to organize my baubles.


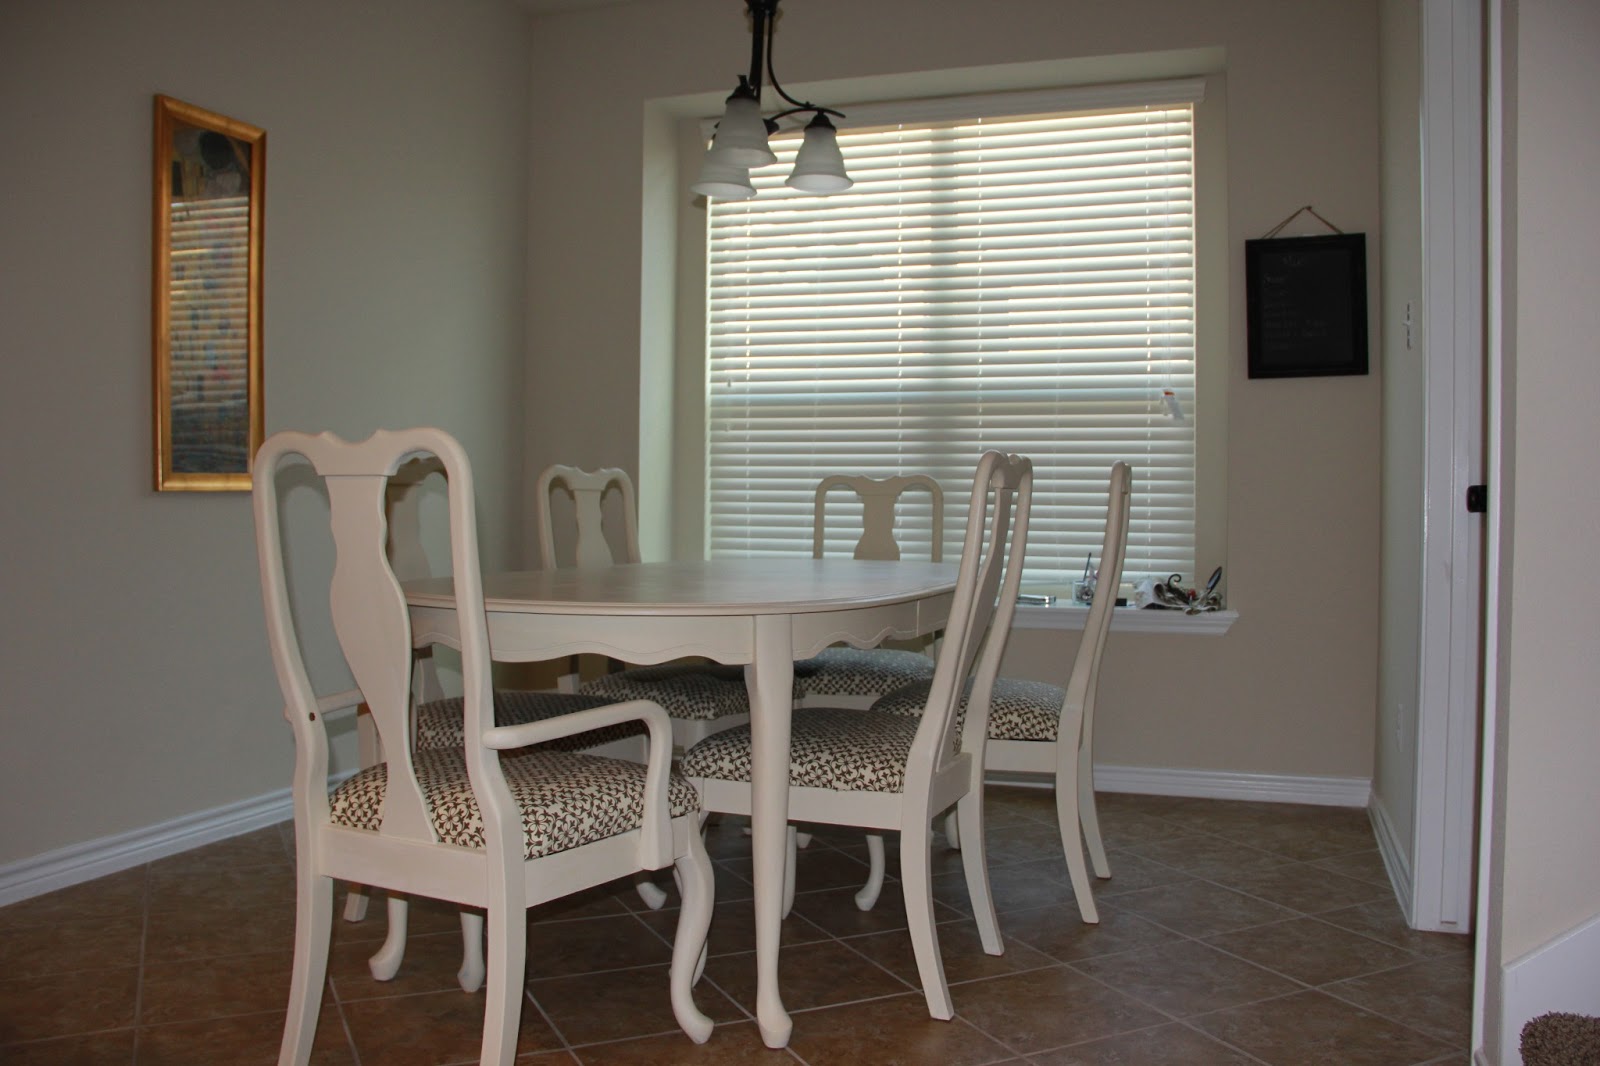
One of the aspects I fell in love with when we looked at this house was the window seat in the breakfast nook. To make it comfortable, I took a piece of wood (my husband cut it to size for me) and then I stapled fabric over foam on top of it to create a cushion. It is a great spot to read a book.
I like how the breakfast nook is coming along, except the peacock painting is not large enough. The wall looks a little bare, but it is a work in progress.


 It is pretty comfy... I was lucky enough to have extra fabric from the chairs so that I could make some pillows to coordinate. I don't know, maybe there is a need for more pillows?


 But to go back to my original theme, that of me being an interior designer.... I absolutely love it but I don't think I would want to do it as a career or anything. Unless it is to teach interior design principles in a high school class. I miss the classroom!
The first one was a writer/novelist/columnist. I have always loved writing. I am not saying I am a particularly good writer, but I do enjoy it.
The second career I wanted to pursue was a fashion designer. I sewed a little and could follow a pattern. And made some cool clothes for myself. Well, thats not entirely true! I could never follow a pattern, because I would read them and think, "that's stupid, it would be easier or better if I did this or that instead". Sometimes my ideas were brilliant, but more often than not, my improvements ended up as disasters. Probably because I never learned how to make patterns or why they worked to begin with. I could have gone to fashion design school, I don't know why I didn't. I still love fashion, clothes and design. I wish I knew how to create my own complex patterns.
But the third career that could have been mine was an interior design. Patterns, colors, shapes, size, fabric, textures.... I love them all. Anyway, I have a beautiful new house which I need to make a home on a military wife budget. Since I didn't want to go into debt for furnishings and decorations, I have been making them myself or repurposing used items.
Before I delve straight into my projects, I would like to say that I am sooo thankful for this house. Sometimes, we go through tough situations, to make us better people. Better people are thankful and appreciative, and I see this house as a gift. One I don't deserve, but nonetheless a gift. And if you know me well, I don't think that God necessarily gives material gifts to those he loves. Obviously not! Just look at the world, and how the spread of wealth tends to flow. However, for whatever reason, my house is a gift from God, for a short time, and I want to do my ultimate best to make it warm and welcoming. And even make it a cool hang out for my kids and their friends, and youth group.
Here are some of the projects that I have been working on. I bought all of the furniture off of craigslist, except the wicker furniture was a garage sale find (all four pieces for $25). Instead of creating a post for each project, I figured it would be easier to put them all here. Of course I have more to come in the future, I am no where near done.
The patio furniture... easy peasy. Washed, spray painted a fresh coat of white paint and covered the cushions with new fabric. The little chairs need new cushions but I will get to that another time.


One of the aspects I fell in love with when we looked at this house was the window seat in the breakfast nook. To make it comfortable, I took a piece of wood (my husband cut it to size for me) and then I stapled fabric over foam on top of it to create a cushion. It is a great spot to read a book.
I like how the breakfast nook is coming along, except the peacock painting is not large enough. The wall looks a little bare, but it is a work in progress.


Look how happy "Chappy" (as everyone lovingly calls my Army Chaplain hubby) looks taking a nap on the window seat.


And just so you don't think I am wonder woman and have everything in order and designed in a mere month, here is a picture of my next project room. The formal dining room, which I imagine to be more of a study area for most of the time. We like books around here, if you couldn't tell.
I bought the table off of craigslist for $50, and painted it, and I made the curtains, but now to organize books, and find some extra chairs.